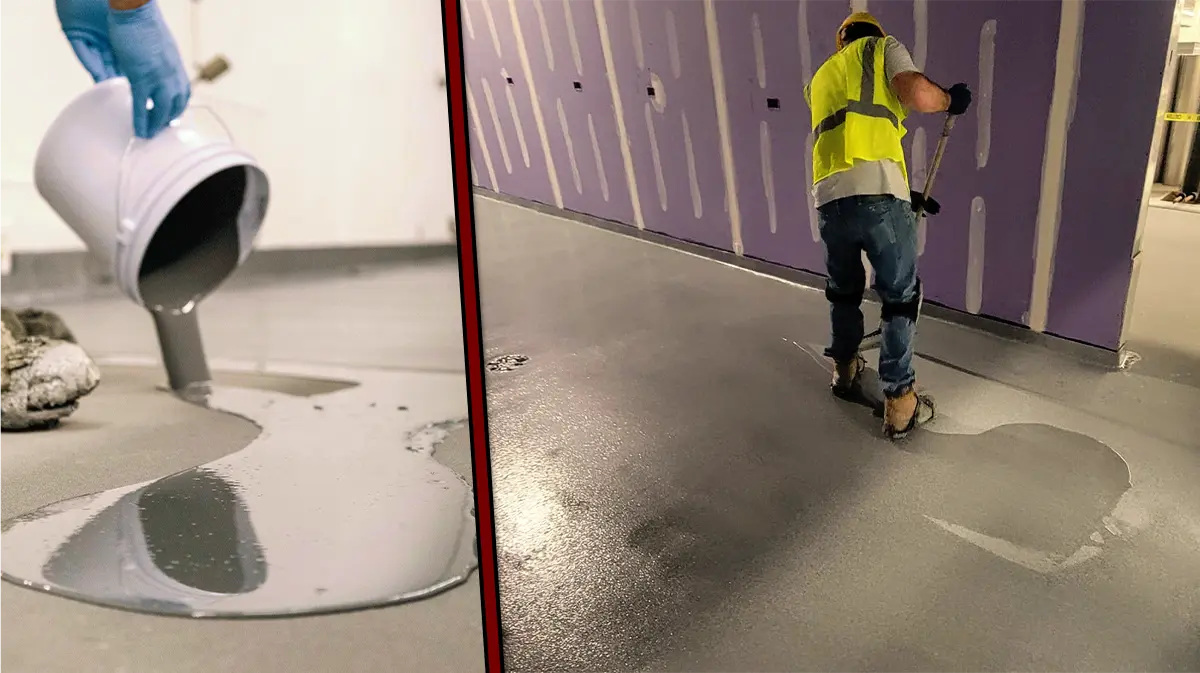
Epoxy coatings, popularly used for garage floors, start as a liquid mixture that requires precise preparation before application. Comprising two key components, Parts A and B, these coatings must be thoroughly mixed to initiate the chemical reaction that transforms them from a liquid state into a durable, protective surface.
Consequently, this mixing process is crucial to ensuring the strength, adhesion, and longevity of the finished floor. Because of this, proper mixing is an essential step in the installation of high-quality epoxy flooring.
Mixing epoxy floor coatings is more than just a step in the installation process—it’s crucial to the quality and durability of the final product. Even minor errors can lead to major issues, making precision in mixing essential. Here’s a rundown of what we mean when we talk about epoxy mixing.
The Basics of Epoxy Mixing
As we mentioned, epoxy coatings are usually made up of two components: Part A (epoxy resin) and Part B (activator). When combined, they form a strong, durable coating. The key to this strength lies in the precise ratio between these two components, which can vary depending on the product. Common ratios include 1:1, 2:1, 4:1, or 3:2. Additionally, some products may require a solvent, further complicating the mix. For example, a 2:1 ratio might change to 2:1:½ when solvent is added.
Epoxy Coatings: Common Mixing Errors
Even the smallest mistake in mixing can affect the quality of the epoxy coating. Here are some common pitfalls:
- Inaccurate Measuring: Precise measurements are non-negotiable. Even a small error in the ratio can compromise the mixture’s integrity. Using tools like an Electronic Coatings Calculator helps ensure accuracy. This is the issue we see the most.
- Using the Wrong Equipment: A powerful, high-speed drill with the right mixing blade is crucial. Using inadequate tools, like stirring with a stick, won’t create the uniformity needed for a strong mix.
- Mixing Different Products: Accidentally combining components from different product lines is a hallmark of an inexperienced installer. It’s essential to keep your mixing area organized and double-check labels to avoid this mistake. It can be surprising how many times we see this one pop up!
Best Practices for Mixing Epoxy
For the best results, we follow these procedures:
- Mix in the Correct Order: Start by thoroughly mixing Part A, especially if it’s pigmented, to avoid any uneven distribution. Then add Part B and any necessary solvent, mixing slowly to prevent air bubbles.
- Avoid Contamination: Never mix old and new batches together. Contaminants from an old batch can ruin the new mix, affecting its durability and finish.
- Organize Your Space: Set up a clean, organized mixing area with only the required equipment and product components. Make sure the space is free of any contaminants that could affect the mix.
- Pre-Mix Part A (If Pigmented): If you’re using a pigmented epoxy, start by thoroughly mixing Part A to ensure the pigment is evenly distributed. This step isn’t necessary for clear epoxies.
- Combine and Mix: Add Part A to Part B and mix immediately. Ensure that the mixing is thorough but slow enough to avoid introducing air bubbles, which can weaken the coating. If the product requires solvent, add it after Parts A and B have been mixed, and mix again.
- Ensure Consistency: If multiple containers of Part A are used, batch them together and pre-mix before adding Part B. This ensures uniformity in color and texture across the entire coated surface.
Epoxy Coatings: Why Professional Mixing Matters
Mixing epoxy coatings correctly is crucial to achieving a durable, high-quality floor. By avoiding common mistakes and following best practices, you can ensure your floor will stand the test of time.
For homeowners and businesses in Pennsylvania, trusting professionals with the installation ensures the best possible outcome. Our expertise ensures that every batch is mixed perfectly, resulting in beautiful and durable floors.

